Setting the default printer for your computer helps you minimize the operation of printing documents on your computer and control the printer more easily. However, this practice is not known to everyone. Follow the steps below to learn how to set the default printer in Windows.

Instructions for setting the default computer
Instructions: How to install the default printer for Windows
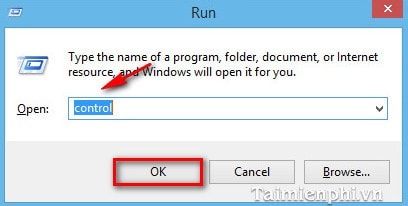
Step 1: Access the Control panel by calling the Run dialog box
Press Windows key + R then type in the phrase “Control“.
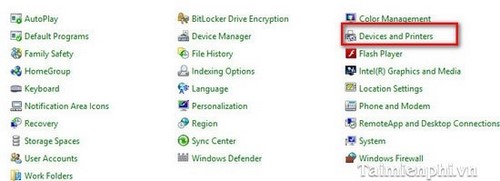
Step 2: From Control panel find and access Devices and Printers
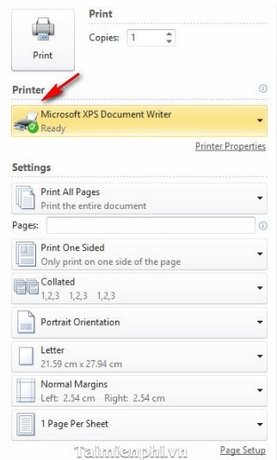
Step 3: A new window will appear listing printers, you have to mouse on the best printer you use often, then right over and select Set as default printer

– The default printer will have a Check (V)
https://thuthuat.taimienphi.vn/cach-cai-dat-may-in-mac-dinh-cho-windows-1768n.aspx
Thus, with just a few simple steps you can set the default printer for Windows. When the printer defaults to setting, printing minimizes unnecessary operations. Document printing will become faster and more professional.