One of the easiest ways to install OpenStack on an Ubuntu server is through DevStack. DevStack is a series of scripts used to bring the complete OpenStack environment based on the latest version.
Despite being the simplest solution, installing OpenStack on Ubuntu servers using DevStack also takes quite a long time, possibly from 30-60 minutes. Refer to the article below of Software to know how to install OpenStack on Ubuntu server using DevStack.

Note in this tutorial that the software works on Ubuntu Server 16.04 platform, but you can do it on any Ubuntu server platform.
How to Install OpenStack on Ubuntu Server Using DevStack
The first step you need to do to install OpenStack on an Ubuntu server using DevStack is to create a non-root user account, then use this account to install OpenStack. Open a Terminal window, then enter the command below:
sudo useradd -s /bin/bash -d /opt/stack -m stack
Use the command below to grant sudo permissions to the user:
echo “stack ALL=(ALL) NOPASSWD: ALL” | sudo tee /etc/sudoers.d/stack
Change to the user you just created with the command:
sudo su – stack
Next, check out Devstack from Github. First install git using the command:
sudo apt install git
Now you can test DevStack (using the latest stable version) with the command:
Git clone https://github.com/openstack-dev/devstack.git -b stable/queens devstack/
This will create a new directory, devstack. Change into that directory with the command cd devstack.
The above command will create a new folder named devstack. Change the directory using the devstack cd command.
Before executing the installation command, you will have to configure the local.conf file. Open the local.conf file by using the local.conf nano command. Then copy and paste the code below in:
HOST_IP=SERVER_IP
SERVICE_PASSWORD=PASSWORD
ADMIN_PASSWORD=PASSWORD
SERVICE_TOKEN=PASSWORD
DATABASE_PASSWORD=PASSWORD
RABBIT_PASSWORD=PASSWORD
ENABLE_HTTPD_MOD_WSGI_SERVICES=True
KEYSTONE_USE_MOD_WSGI=True
# Logging
LOGFILE=$DEST/logs/stack.sh.log
VERBOSE=True
ENABLE_DEBUG_LOG_LEVEL=True
ENABLE_VERBOSE_LOG_LEVEL=True
GIT_BASE=${GIT_BASE:-git://git.openstack.org}
TACKER_MODE=standalone
USE_BARBICAN=True
TACKER_BRANCH=
enable_plugin networking-sfc ${GIT_BASE}/openstack/networking-sfc $TACKER_BRANCH
enable_plugin barbican ${GIT_BASE}/openstack/barbican $TACKER_BRANCH
enable_plugin mistral ${GIT_BASE}/openstack/mistral $TACKER_BRANCH
enable_plugin tacker ${GIT_BASE}/openstack/tacker $TACKER_BRANCH

Note in the above code, replace PASSWORD with a unique password you want to use and SERVER_IP with the IP address of the OpenStack server. After finishing, save and close the file.
The next step now is to execute the command to install OpenStack. Use the . /stack.sh command to install. The installation process will take about 30-60 minutes to complete.
Log
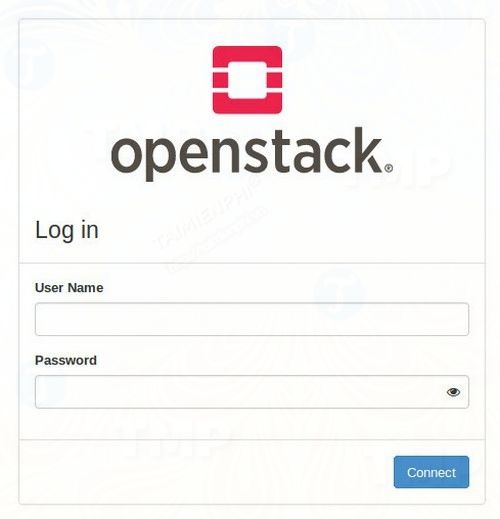
After the installation is complete, open any web browser on the same network as the OpenStack server, go to http://SERVER_IP/dashboard (where SERVER_IP is the IP address of the OpenStack server). The login welcome window will be displayed on the screen as below. Enter the Admin username and password that you used to configure the local.conf file.
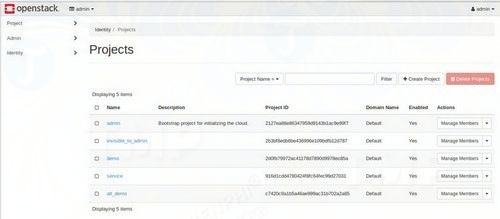
Now you can manage settings, create new projects, and manage users and teams.
https://thuthuat.taimienphi.vn/cach-cai-openstack-tren-may-chu-ubuntu-bang-devstack-34990n.aspx
So Software has just shown you how to install OpenStack on Ubuntu server using DevStack. Although this method is a bit time-consuming, it is simpler than installing OpenStack manually. Besides, you can learn more about how to